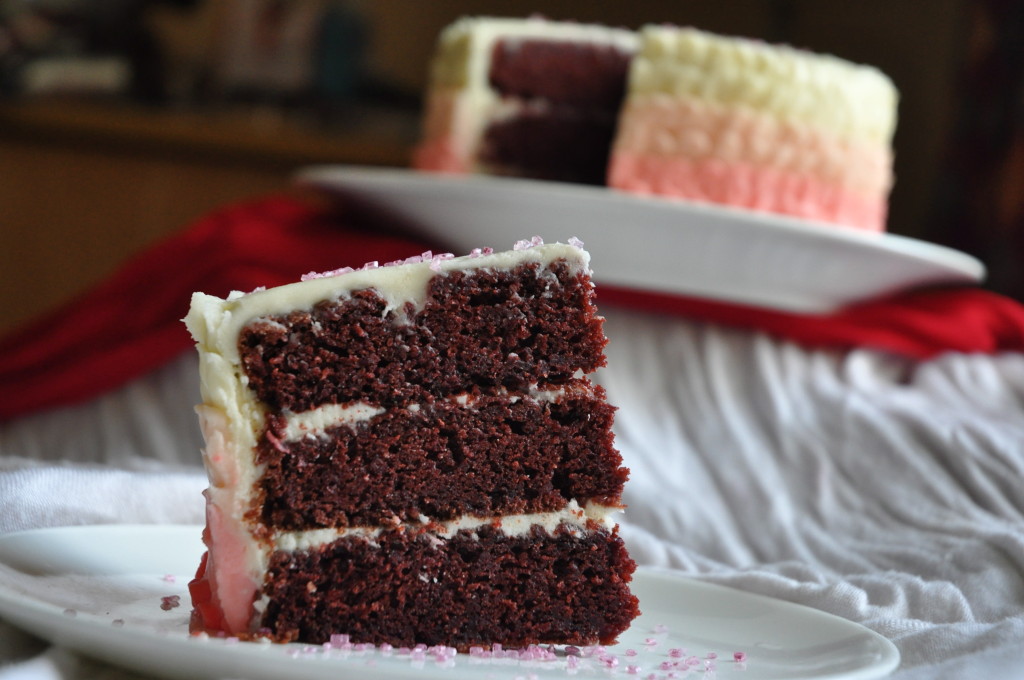
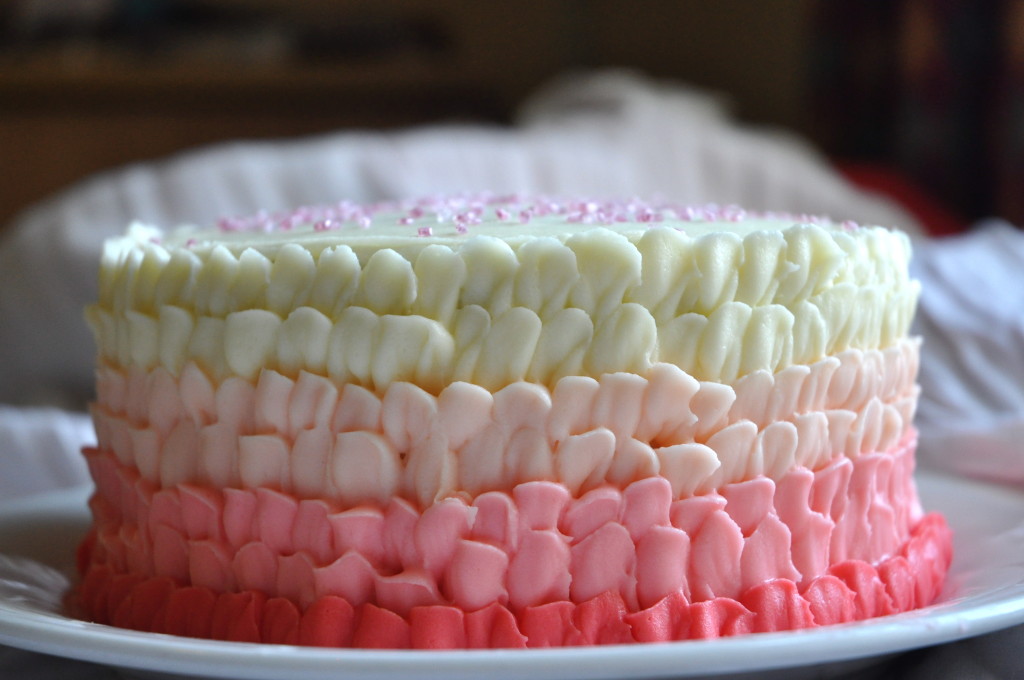
Let me start off by admitting that this cake is blatantly for Valentine’s Day. It’s cute and frilly and I shamelessly don’t care. :) I’ve always had a laid back attitude towards Valentine’s Day, even when I did have a boyfriend to celebrate it with. I still largely believe it is heavily encouraged by companies that what you to buy their products, but I don’t mind the concept of picking a day to express our feelings to our loved ones. I know, I know – why just Valentine’s Day? You should show your loved ones they’re special every day of the year. Yes, I agree with this but I also think that it’s a bit of harmless fun. Anywho, I’ll quit rambling now and regardless of your views towards this “holiday”, I hope you’ll enjoy this cake!
Red velvet cake has reemerged in popularity in recent years. Traditionally, the red colour came from the cocoa. Nowadays, I’m afraid it’s just plain old food colouring. I adapted this recipe from a popular red velvet cupcake recipe. I’d say it worked really well, although since I use gel food colouring I had to just guess how much to put in. The cake itself was very moist and although it was chocolatey, the flavour was quite mild (in comparison to, say, the Cake of Death). It had a very pretty deep red, almost brown colour. I think I prefer this to the super red velvet cakes which do just look purely like food colouring.
I think the icing is very pretty as well. I made a petal ombre cake last spring and it also was beautiful. I love this technique because it’s actually quite simple, but looks really impressive. I’ve done both a video and photo tutorial on how to make this cake in the past. Feel free to check them out! I hope you’ll find them helpful.
So, no matter what you’re plans are for tomorrow, I hope you have a great day! I for one will be enjoying my evening snuggled up in a fleecy blanket with a slice of cake, a glass of wine and I’ll be watching the Olympic figure skating. :)
P.S. GO CANADA! <3 <3
Red Velvet Cake
Makes one 3 layer 6″ cake
Serves 8-12 people
Adapted from allrecipes.com
Ingredients
- 1 1/4 cup/155g plain flour
- 1/4 cup/20g cocoa powder
- 1/2 tsp baking soda (bicarb of soda)
- 1/4 tsp salt
- 1/2 cup/125g unsalted butter, softened
- 1 cup/200g white sugar
- 2 large eggs
- 1/2 cup/115g sour cream
- 1/4 cup/60 ml milk
- 1 tsp pure vanilla extract
- 1/2 1oz bottle red food colouring or ~1/2 tsp red gel food colouring + 1-2 tbsp milk
Instructions
- Preheat the oven to 350F/175C. Butter and flour 3 6″ round cake tins and line with a round of baking parchment. Instructions on how to do this can be found here.Â
- Sift together the flour, cocoa, baking soda, and salt in a medium sized bowl. Set aside.
- Cream together the butter and sugar with an electric mixer on high for ~4 minutes. Beat in the eggs one at a time, mixing well after each addition. Mix in the sour cream, milk, red food colouring and vanilla.
- Add the flour and mix until just blended. Do not over beat. Divide the batter amongst the three pans evenly.
- Bake in preheated oven for 20-25 minutes or until a toothpick inserted into the centre of the cakes comes out clean. Let cool in tins for 10 minutes before turning out onto a wire rack to cool completely.
- Ice with cream cheese icing and decorate as desired.
Cream Cheese Icing
Makes enough to ice one 3 layer 6″ cake
Ingredients
- 125g unsalted butter, softened
- 135g full-fat cream cheese, softened
- 500g icing sugar, sifted
- 1-2 tbsp whole milk
- 1 1/2 tsp pure vanilla extract
Instructions
- Cream together the butter, cream cheese and vanilla on high for 2-3 minutes or until light and fluffy and well mixed together.
- Gradually add in the icing sugar, mixing on low. If the icing gets too stiff, add a bit of milk. Make sure you don’t add too much. If you are planning on piping with the icing, it must still be able to hold its shape but not be so stiff that it cannot be piped easily.
- Once all the icing sugar has been added, beat on high for 1-2 minutes until icing is light and fluffy. Use to ice cake as desired.


